DIY Personalized Keychain With a Charm
Creating your own DIY personalized keychain is a fun and rewarding craft project! Whether you're making a simple design or a detailed anime figure keychain, this guide will walk you through every step. We’ll cover how to bake polymer clay, how long to bake polymer clay, and how to make a keychain with beads and charms. Let’s get started!
Step 1: Gather Your Materials
To make a clay keychain, you'll need the following supplies:
- Polymer clay (various colors)
- Cutting tools (cookie cutters, craft knife, or paper cutter)
- Rolling pin (silicone, wood, or even a clean pen)
- Glass sheet or acrylic stamp block (to prevent sticking)
- Alcohol and cotton swabs (for cleaning dust)
- Toothpick or needle (for making holes)
- Metal wire (for reinforcement)
- Split rings and keychain assembly
- Paint options (acrylic, gouache, dry pastel, or markers)
- UV resin & UV lamp (for finishing)
🌸 Tip: Clean your workspace thoroughly before starting to avoid dust sticking to the clay.
Step 2: Prepare Your Clay
Before shaping your polymer clay, soften it by kneading. Cut it into small pieces and roll them into a “worm” shape. Fold it in half and repeat until the clay becomes pliable. If you’re mixing colors, use this method to blend them smoothly.
🌸 Note: If your clay is already soft, you can skip this step!


Step 3: Shape Your Keychain
Flat Keychains:
- Roll out your clay to about 1/8 inch (0.3 cm) thick.
- Use a cookie cutter or a craft knife to cut out shapes like hearts, stars, or custom designs.
- Add texture or details with tools like toothpicks or stamps.

3D Figures (e.g., a cat keychain or anime figure):
- Start with a basic shape (like a ball or cylinder for the body).
- Build details step by step—add a head, ears, tail, legs, or charm.
- Use an acrylic stamp block or an old bottle cap to avoid handling the clay too much and leaving unwanted fingerprints.
🌸 Tip: If your design has delicate parts (like cat ears or thin tails), reinforce them with metal wire inside the clay.
Step 4: Make a Hole for the Keychain
- For flat designs, use a needle or toothpick to create a hole near the top (~0.5 cm from the edge).
- For figures, find a strong spot to attach the ring (e.g., the head of a cat figure). Ensure the area is thick enough to hold the weight of the keychain.
- If needed, insert a small metal wire inside the clay to strengthen the attachment point.
- After making hole clean dust from the clay with Alcohol and cotton swabs.
Step 5: Bake Your Polymer Clay Keychain
This is a crucial step—baking your clay incorrectly can cause burning or under-baking.
How long to bake polymer clay?
- Follow the instructions on the package, usually 110-130°C (230-266°F) for 15-30 minutes per 1/4 inch (6mm) thickness.
- Place your keychain on a silicone baking mat + parchment paper to prevent scorching.
- Use an oven baking grill (not a solid tray) for even heating.

🌸 Warning: If your clay starts turning brown, smelling, or looking burnt, lower the temperature! Each oven is different.
Once baked, let the keychain fully cool before moving on to the next step.
🌸 Test: If you can press your fingernail into the clay and leave a mark, it needs more baking.
Step 6: Paint and Add Details
If you used colored polymer clay, you can simply add final touches like blush or shading with dry pastel.
If you used plain clay, it’s time to paint!
- Use acrylic paint for quick drying.
- You can also use markers, gouache, pastels, or colored pencils.
- If you make a mistake, clean it with alcohol and a cotton swab.
🌸 Tip: Some paints and resins don’t mix well—test before sealing.

Step 7: Assemble Your Keychain
- Insert a metal ring through the hole or metal hook.
- Attach the keychain split ring.
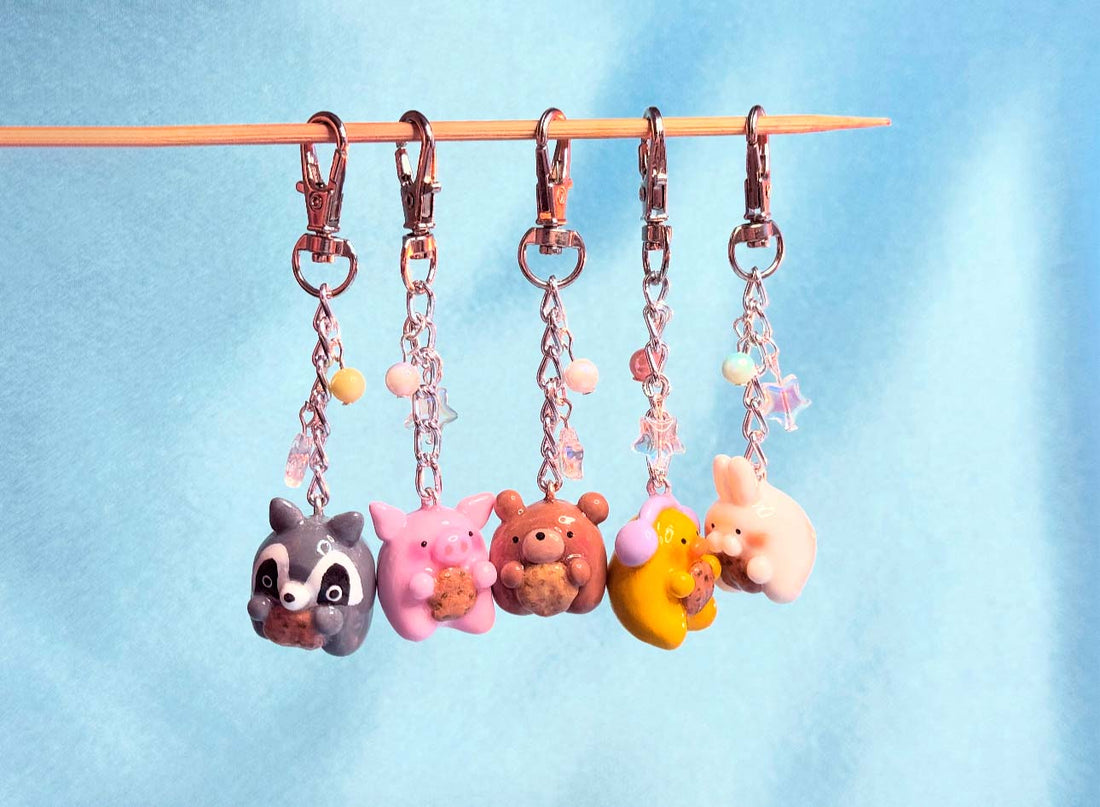
- If making a beaded keychain, add beads or charms before securing everything together.
And that’s it! You now have a handmade polymer clay keychain! 🎉
Looks too much of work? Don't worry! Check Aula keychains and save your time!
Step 8 (Optional): Seal with UV Resin
If you want a waterproof, glossy, and durable finish, coat your keychain with UV resin.
How to coat a polymer clay keychain with UV resin:
- Put on gloves and place a silicone mat under your workspace.
- Apply UV resin evenly with a disposable brush.
- If you see bubbles, use a flashlight to pop them.
- Cure under a UV lamp until hardened.
- Add final keychain hardware—and you're done!
🌸 Tip: Keep your resin away from sunlight while working, as natural UV can start the curing process too soon.

Final Thoughts
Creating a DIY personalized keychain with a charm is a fantastic way to make custom gifts or unique accessories. Whether you prefer flat designs, animal figures, or anime-inspired keychains, polymer clay allows endless creativity. Now that you know how to bake polymer clay and how to make a keychain step by step, why not give it a try?
Happy crafting! 🎨✨